


Introduction
🔧 Designing an API (Application Programming Interface) is one of the most crucial skills for a developer in today’s interconnected world. APIs allow different software systems to communicate with each other, making them essential in modern software development. Whether you’re working on a public API for a SaaS product or an internal API for a company application, understanding how to design an API effectively is key to ensuring it is reliable, secure, and easy to use.
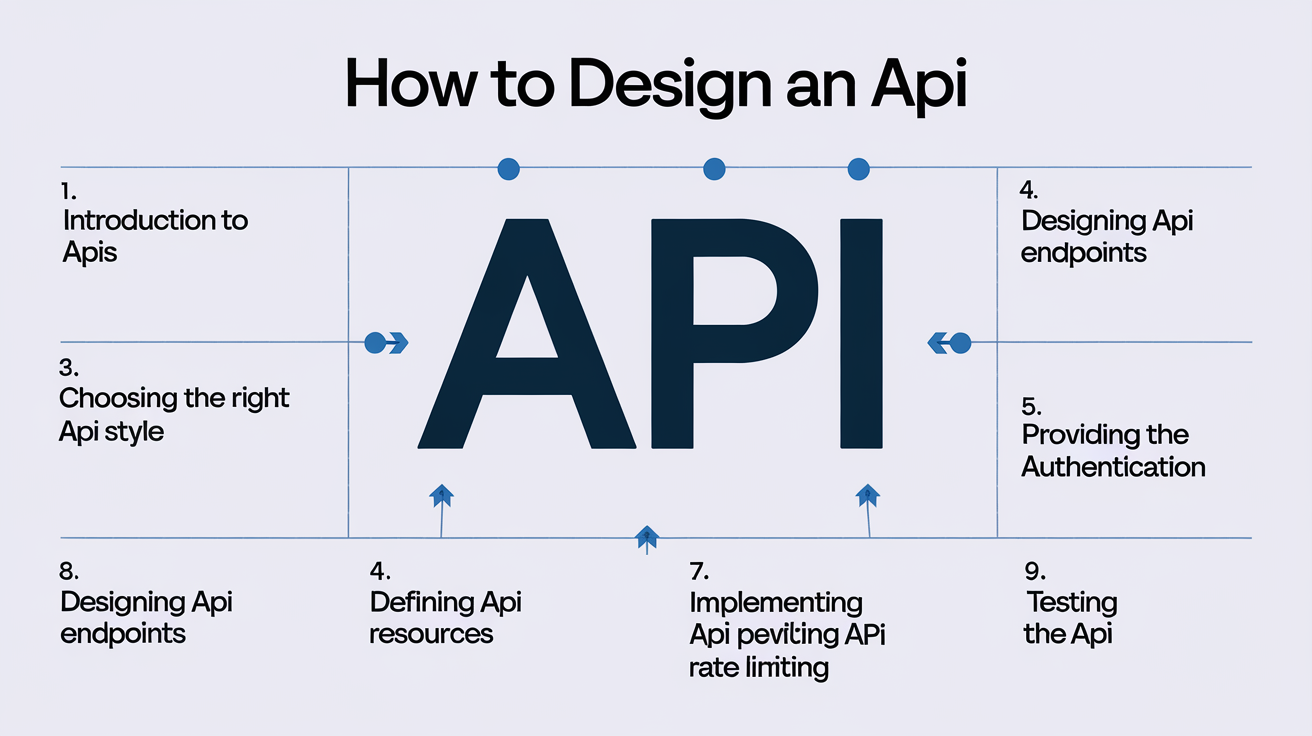
In this guide, we’ll walk you through a step-by-step process for designing an API, from gathering requirements to implementing security. We’ll also provide examples, pseudocode, and practical scenarios to help you understand each concept.
1. Understand the Requirements 🧐
Before you start writing code, understanding the requirements is essential. This will guide your design decisions and ensure the API meets the needs of its users.
Purpose and Scope
Determine the API’s Purpose: Start by defining what the API is meant to achieve. Is it for internal use, third-party integration, or public access?
Identify Use Cases: Outline the main use cases the API should support. For example, if you’re building an e-commerce API, the use cases might include managing products, processing orders, and handling customer data.
Target Audience: Identify who will use the API. Is it developers within your company, partners, or external developers? This will influence how you design and document the API.
Resources and Operations
- Define Resources: Resources represent the key entities the API will manage. Examples include users, products, and orders. Each resource will have its own endpoint.
- Identify Operations: Determine the CRUD operations (Create, Read, Update, Delete) that can be performed on each resource. For example:
- Create a Product: POST /products
- Get Product Details: GET /products/{id}
- Update a Product: PUT /products/{id}
- Delete a Product: DELETE /products/{id}
2. Design Principles 🧩
Adhering to solid design principles ensures your API is consistent, easy to use, and follows industry standards.
RESTful Architecture
Embrace REST Principles: If you’re designing a RESTful API, follow REST principles. This includes making your API stateless, where each request contains all necessary information.
Stateless Operations: Ensure that the server doesn’t need to store any client context between requests. Each request should include all the data needed to process it.
URL Structure and Endpoints
Design Intuitive URLs: Your URL structure should be logical and consistent. Use nouns to represent resources (e.g., /users, /products).
Use HTTP Methods Appropriately:
GET for retrieving resources.
POST for creating new resources.
PUT for updating existing resources.
DELETE for removing resources.
Example:
plaintextGET /products POST /products GET /products/{id} PUT /products/{id} DELETE /products/{id}
Nested Resources: For resources that are logically related, use nested URLs. For example, to retrieve all orders for a specific user:
plaintextGET /users/{userId}/orders
3. Request and Response Format 📄
Consistency in request and response formats is crucial for making your API user-friendly and predictable.
Use JSON
Why JSON? JSON is the most common format for API communication because of its simplicity and wide support across programming languages.
Structure Your JSON Responses: Ensure your API responses are consistent. For example, always include a top-level status key indicating the success or failure of the request.
Example Response:
json{ “status”: “success”, “data”: { “id”: 123, “name”: “Product Name”, “price”: 29.99 } }
Consistent Responses
HTTP Status Codes: Use standard HTTP status codes to indicate the outcome of an API request.
200 OK for successful GET requests.
201 Created for successful POST requests.
400 Bad Request for invalid requests.
404 Not Found for resources that do not exist.
500 Internal Server Error for unexpected failures.
Error Handling: Provide meaningful error messages. This helps developers understand what went wrong and how to fix it.
Example Error Response:
json{ “status”: “error”, “message”: “Product not found”, “code”: 404 }
4. Authentication and Authorization 🔒
Security is paramount when designing an API. Implementing strong authentication and authorization mechanisms ensures that your API is only accessible by those who have the right permissions.
Authentication
Choose an Authentication Method: Common methods include API keys, OAuth, and JWT (JSON Web Tokens).
API Keys: Simple but less secure. Used for internal or low-risk APIs.
OAuth: Standard for third-party integrations. It allows users to grant applications access to their data without sharing credentials.
JWT: Common for modern web apps, as it is compact and secure.
Example JWT Implementation:
plaintextAuthorization: Bearer <token>
Authorization
Role-Based Access Control (RBAC): Implement RBAC to ensure that users can only perform actions they are authorized for. For instance, an admin might have access to delete a product, while a regular user might only have read access.
Example Scenario:
Admin can POST, PUT, and DELETE products.
User can only GET products.
5. Rate Limiting and Throttling 🚦
To protect your API from misuse and ensure fair usage among all users, implement rate limiting and throttling.
Rate Limiting
Limit the Number of Requests: Set a maximum number of requests a user can make in a given timeframe. For example, 100 requests per minute.
Return Appropriate Responses: If a user exceeds the limit, return a 429 Too Many Requests status code.
Example Rate Limiting:
plaintextX-RateLimit-Limit: 100 X-RateLimit-Remaining: 0 X-RateLimit-Reset: 60
Throttling
Control Traffic: Throttling slows down the processing of requests from users who exceed their rate limits, ensuring the API remains available to all users.
Implement Backoff Strategies: Encourage users to implement backoff strategies (e.g., exponential backoff) to reduce the number of retries and prevent server overload.
6. Example Scenario: Building a Simple Product API 🛒
Let’s put all these principles into practice by designing a simple API for managing products.
Step 1: Define the Resource
Resource: Products
Attributes: id, name, description, price, category
Step 2: Design Endpoints
GET /products: Retrieve all products.
POST /products: Create a new product.
GET /products/{id}: Retrieve a single product by ID.
PUT /products/{id}: Update a product by ID.
DELETE /products/{id}: Delete a product by ID.
Step 3: Implement Authentication
JWT Authentication: Implement JWT for secure access.
Step 4: Example Pseudocode for Creating a Product
Here’s a simple example of how you might implement the POST /products endpoint:
python@app.route(‘/products’, methods=[‘POST’]) def create_product(): data = request.get_json() new_product = Product( name=data[‘name’], description=data[‘description’], price=data[‘price’], category=data[‘category’] ) db.session.add(new_product) db.session.commit() return jsonify({ “status”: “success”, “data”: { “id”: new_product.id, “name”: new_product.name } }), 201
Conclusion: How to Design an API: A Step-by-Step Guide for Developers
Designing an API is a multi-faceted task that requires careful consideration of both technical and user needs. By following the steps outlined in this guide, you can create an API that is not only functional but also secure, reliable, and easy to use. How to design an API involves understanding the requirements, adhering to best practices, and thinking ahead about security and scalability.
Remember, a well-designed API can be the backbone of a successful application, enabling seamless integration and expanding your system’s capabilities. Start designing your API today with these principles in mind, and you’ll be well on your way to creating a robust and user-friendly interface.
Ready to design your own API? 🚀 Let’s get coding!